Friday 31 January 2014

Lighting, concepts and textures

After the basic whitebox for the level was done and Luc did some basic paint overs for it, we felt we had the general feel for the level. So we moved onto the next most important part of the level – the design of the slums. We wanted to have 2 different types of slums, a low end slum (made out of basic materials like sheet metal and bricks) and a higher end slums (more sci-fi orientated). This is so it keeps the level more interesting for the player as they explore the level.  I produced a white box of each building type (police building, sci fi slums and low end slums). Which Luc then took to produce some paint overs to get an idea of surface detail.


Dans initial whiteboxes for the houses/shacks

Lucs concept from the whitebox

Lucs concept from the whitebox

Lucs concept from the whitebox

After playing through the whitebox within cry we felt that certain areas needed tweaking. We made some areas, like the back alleys and road system wider as they were too narrow to navigate when playing the level. We also made the centre section of the level with all the slums an extra 2 meters taller, as we felt the balcony was too low and the alley way next to it wasn’t tall enough either. Height is something we feel is important for the overall look and feel to the level, so we want to get it right.

After making tweaks to the whitebox we started to put the lights in. We did this we get an early idea of the atmosphere we wanted for each part of the level, we kept to our art guide for this. Low level slums are green, sci fi slums are pale/metallic blue, courtyard are purple and the wall/police building are blue and orange.


We also wanted to get an idea on how to lead the player down certain paths. We did a quick test by putting in a few lights in key areas, then we played the level to  see where our eyes are drawn too. First test were pretty positive, trying to be impartial our first reaction was to go down the correct path, but we feel it is a tad biased as we know the level. We plan to have people who don’t know the level play it and see where they do do get an idea of how people will play it.


New screenshots of the level with the lighting and tweaks have been given to Luc to produce some detailed concepts.


Me and Luc have produced a texture list for the houses so we know what we need to produce for them. The list also includes who does what along with the texture sizes. We have also started to produce some basic tiling textures for the level. Below shows the work:


Dans Brick wall texture

Dans Cobblestone texture

Lucs Concrete

Lucs Plaster

One of the main things we wanted discussed and sorted out was this week was how we are going to approach the modular system. We hit a few problems with what parts of the buildings we wanted to have tilling textures and what parts we wanted modular. We decided that because the sci fi theme fits well using a modular system, all of our sci fi buildings will be made out of modular parts. But on the lower end shacks we will be using a mixture of tiling textured and props. 

Monday 27 January 2014

Initial planning and concepts

We knew quite early on what the general themes this project would focus on. We really like the idea of contrast between social classes and economics, and this idea of an overpopulated future city with a divide between the poorest of the poor and the grossly wealthy.

The slums of New Delhi and Sao Paulo have some amazing imagery and there's a lot of character and narrative in amongst all the chaos. With this in mind some initial sketches have been put together and following on from last week's whitebox, some detailed concepts are being worked up to get the ball rolling on the 3D.


We're really trying to push the verticality and hap hazardly built streets and houses. Although, because we're planning on building everything modularly, having loads of unique looking buildings and alleys might be more of a problem.

Now we've got the whitebox laid out and we have a nice sense of scale we can close in a bit and focus on some of the smaller details such as architecture and street level details. Some examples of ongoing concepting


I've also put together a colour chart so we can begin setting out a structure for the different areas. Using defined colour palettes will help us seperate key areas of the level and create a unique mood, which will help break everything up.


Tuesday 21 January 2014

References and Whitebox

References

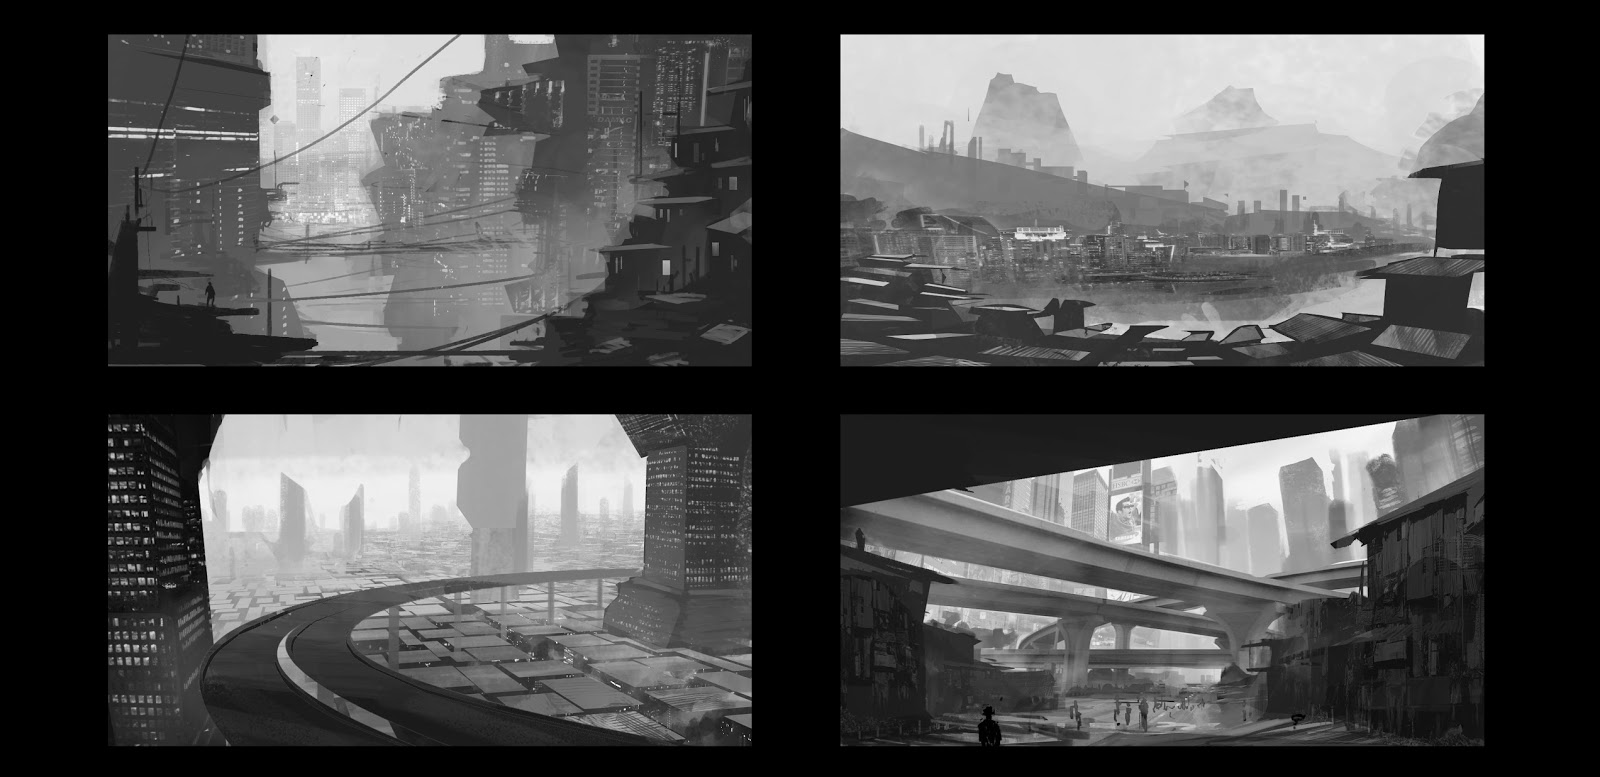
Before starting any design/concepts for our level we researched a few things and gathered references. We are trying to gather references from as many media types as possible to get a broader understanding.

We have been heavily influenced by the slums in South America, such as Sao Paulo where there is a strong divide between the social classes and how cluttered the slums really are. We’ve looked into other real slums such as New Delhi as well.

To get a better understanding on how to approach the dystopian theme we have looked into films such as Blade Runner, Total Recall, Dredd and Elysium. We have looked into books such as 1984 and books from the Warhammer 40k universe. To get a better sense on gameplay and interaction elements we’ve looked into games like Remember Me and Half Life 2.

Whitebox

Before Christmas we built a basic whitebox to show what we were looking to create in the sense of scale and scope. We built it using a city block system, like how they layout cities in America. We did this as we wanted each block to have a different theme as this would keep the player interested when exploring the level. The themes we wanted to hit was : Commercial sector ; Police sector ; High end slums and low end slum. As well as having a road/transportation system and dividing wall.

Below shows these early white boxes:


A lot of the feedback we got was that its very uniform and straight, the player starts in a position where they can see the end point straight away. Which makes the player less likely to explore the other parts of the level.

From this feedback we went back to the drawing board and completely reworked the whitebox. The main points we wanted to focus on was really pushing the verticality of the level. As this added height makes the player feel more claustrophobic and uneasy which compliments the theme of the level very well.

We also redesigned the street system, making it less regimented and more organic as this really gives off the impression that the slums were built anywhere possible. This more organic approach also pushes that uneasy feeling for the player, because they feel lost/don’t know what to expect.  But we don’t them to be helplessly lost, we want to guide them down certain paths. We plan to do this by a strong use of lights and 3D models which guides the players eye down a certain way.

While gathering references and inspiration for our project we came across a level in the game Remember Me where you have different height levels to explore. We really liked this idea and implemented something similar. We have a multi-tier exploration system, where the player can explore the level within 3 different tiers: the sewer system ; ground level and slums.

Along with this multi-tier system we also want a different theme/feel to each section of the level, to keep the player interest as they explore. Below shows the different sections we are going to implement:


We have built the whitebox in a way that the player will see astonishing vistas. We really want the player to get to, say, a balcony and see the sprawling city in the distance, or being able to peek over the dividing wall and see all the rich/futuristic buildings. So we have built a few points in the whitebox where the player can see these vistas.


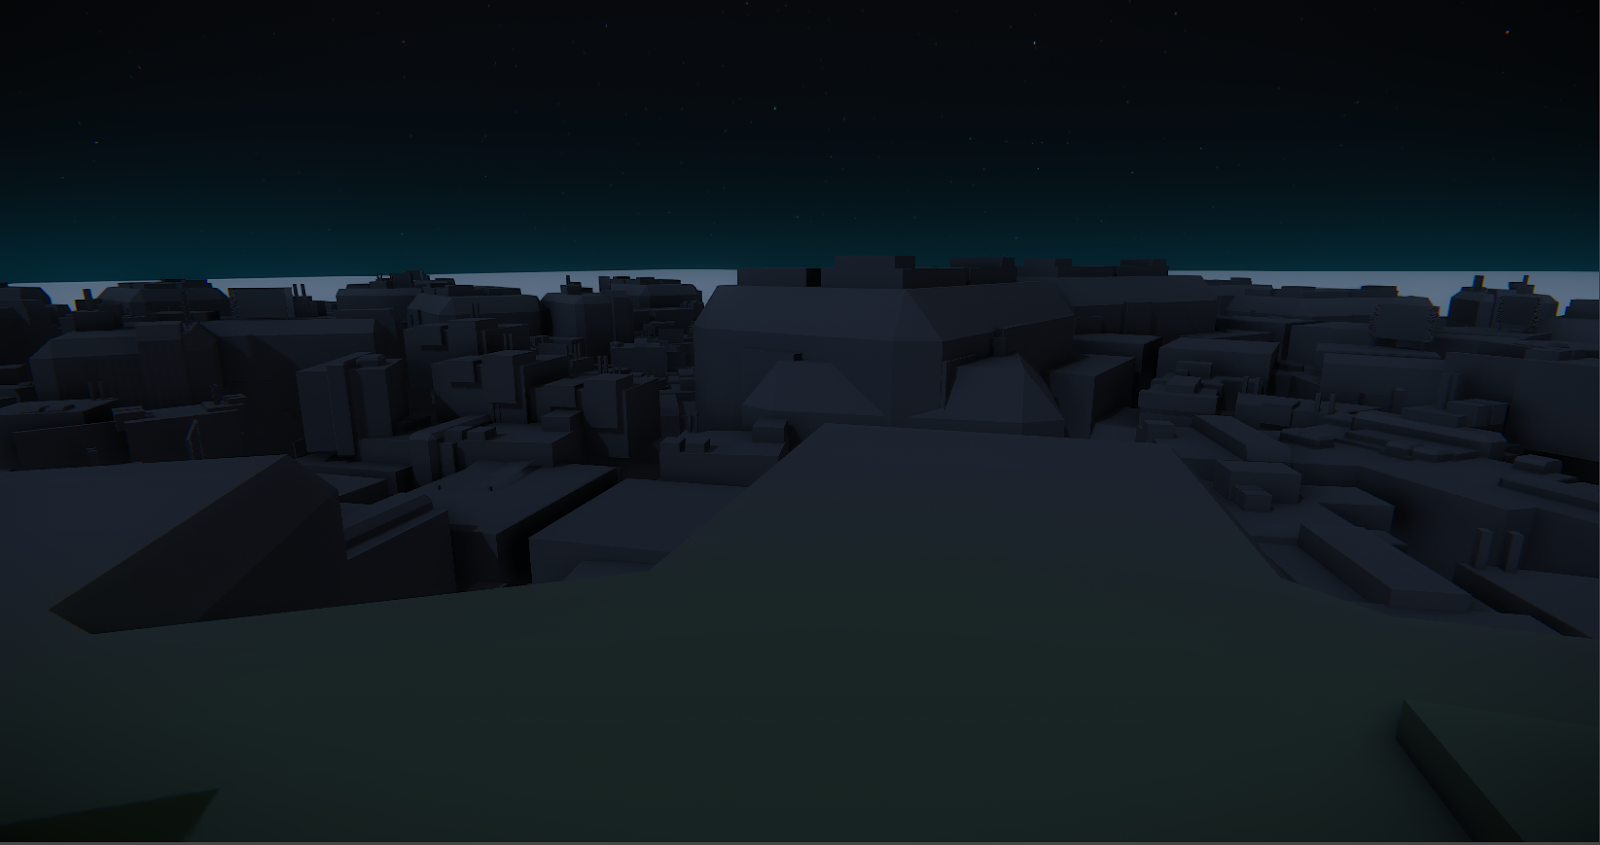
After we was happy with the whitebox we imported it into Cryengine as soon as possible, because as we learnt from the group project last year its best to get the whitebox into the engine as soon as possible as everything looks and plays different once its in engine. We are very happy with the results with the whitebox in Cryengine, but from playing the level we feel the sewer area needs to be a lot wider as its too narrow for the player walk around in. and the middle slum area needs slightly more height.

CryEngine Screen grab

Along with the white box we have completed the IP for our FMP. These is so we can brand everything to make all our work as professional as possible. We have decided on a name, logo and colour scheme which is already implement on this blog.

Monday 20 January 2014

Plan

Me and Luc have created a basic plan for our FMP. It shows what we want done each week, over the 16 weeks. We think these goals are realistic  for our scope and abilities but we have included a buffer week at the end just in case we don’t meet these original goals.


Along with these goals we will each post once a week on this blog to show our individual development throughout the project.

Thursday 16 January 2014

Technical Specification Document

Final Major Project
Technical Specification Document
Luc Fontenoy + Dan Hargreaves


Proposal

Our aim for this group project is to create a small section of a photorealistic dystopian city in a foreign setting which shows the divide between the 2 social classes, rich and poor. Using interactive elements to bring it to life.

Platform

We are planning to produce this project in-spec for next generation consoles (PS4 and Xbox One) and PC

Technical Specification

We aim to produce our work using next gen techniques and standards while having the ability to run smoothly on the target platforms listed above. To do this we have set these goals (subject to change)

No more than 1500 draw calls at any one time when playing the level
50,000 triangles for all unique assets
Texture size range from 256x256 to 2048x2048

Our target system will be the labs Alienware PCs, keeping to these frame rates when playing the level:

Target frame rate: 35 FPS
Lowest acceptable frame rate: 25 FPS

We plan to use the following texture maps to achieve our goal:

Diffuse maps
Specular maps
Normal maps
Gloss maps
Emissive maps
Alpha maps
Cubemaps

Timeframe

5 Months Including time for polishing and preparing for degree show.

Software and Tools

Autodesk 3D Studio Max
Adobe Photoshop
Cryengine
Zbrush
NDo2

Key Environment Features

Large guarded separating wall between the 2 social classes
Slums and decaying buildings
Commercial buildings
Road intersection
Large overhanging bridge
Large buildings in the distance
Interactive elements (see below for details)
Showing it to be a very lived in area, litter etc.
Context sensitive ways to cut off areas of the city from the player

Interactive Elements

Cameras ‘following’ the player and displaying their view and several monitors throughout the scene.
Areas only accessible via climbable ladders
Animated Holograms
Weather effects
Flying cars in the distance
Particle Effects

Scale

Our plan is to create 1 highly detailed city block alongside the dividing wall and distant buildings. Time permitting we hope to expand from 1 city block to 2, showing off more interesting areas, over wise we will model them as LODs – making them visible from a distance but restricting the player from getting up close

Workload Separation

To separate the workload fairly and to complement our individual skills we have come up with a basic asset list, this is so each person knows what they are tasked to do. Below is this list:

Dan

Basic concepts
Whitebox
Modular assets
Props
Road system
LODs
Blog updates

Luc

Detailed Concepts
Modular assets
Props
Dividing wall
Particle effects
Blog updates

Blog Up

This is our FMP blog is to show our development throughout the whole 4 months.